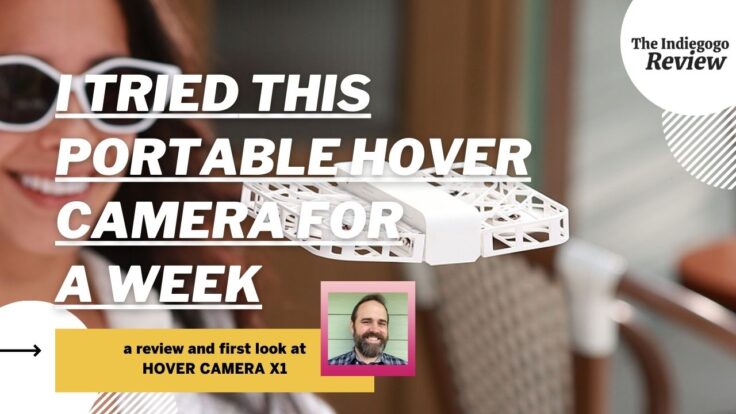
Indiegogo staffers are putting crowdfunded products to the test in our new series of honest reviews. In this edition, our very own engineering manager Scott Sanborn tried out Hover Camera X1, which is live now on Indiegogo. Does it live up to the hype? Read on as we put it to the test!
Intro
The Hover Camera X1 is currently available on Indiegogo and promises to be an ultra-portable solution for capturing aerial footage – video and photos – on the go. I’ve tinkered with toy-grade drones, so wouldn’t consider myself a drone enthusiast. I looked forward to seeing what the Hover Camera X1 would offer in terms of being easy to use. I ended up being impressed by what this little device had to offer!
Unboxing & First Impressions
The Hover Camera X1 arrived in a thoughtfully organized package with little wasted space. The drone, battery charging hub, and extra battery were packed securely in individual boxes, and each had its contents thoughtfully organized as well – small paper tabs popped up to slide inner boxes out of their outer shells, and the Hover Camera itself was in a form-fitting mold. No unnecessary waste or frustrating packaging here.
The drone is lightweight, and its foldable design really makes it clear that this device is begging to be taken on the go. The propeller housing is thin and flexible, but looks to be reinforced in just the right places – all likely in order to bend, not break, in the event of a collision or rough landing. I initially found myself being a bit ginger when handling it, especially when it came to pressing its main power/launch button, as well as when removing the battery. The position of the power/launch button on the device’s top is such that there’s limited space between the gimbal camera and the downward facing camera/sensors underneath it, for placing another finger/thumb in order to hold the device and press the button with one hand. Similar for battery removal/installation: I had to make sure I wasn’t pinching/holding too close to the control buttons, camera, or on the propeller enclosures while giving the bit of “oomph” to snap the battery in and out.
Right out of the box, one of the included batteries was partially charged, but I resisted temptation and charged both fully before jumping into my initial flights.
First Flights / Earning My Wings
It is ridiculously easy to get up and running – er, flying – with the Hover Camera X1. A QR code scan leads to an app download – pretty standard fare – but in a breath of fresh air, the app has a “Log In” and a “Try Now” button, with the latter allowing complete use of the device – flights, manual controls, downloading media, etc. – without having to register for an account. I went through each of the built-in flight patterns (arranged in the app as “cards” – each with its own description and example video) to get acquainted with the Hover Camera X1.
Control Flight / Manual Controls
A nice touch is that the advanced card – manual control – is “locked” until 5 preset flights are completed. I feel this is a smart idea, as exploring the preset flight patterns and getting acquainted with the basics of the Hover Camera X1 made me feel a lot more confident about controlling it manually. Practicing how it lands (by placing my hand under it), as an example, made me comfortable landing it this way in Control mode. (There’s also a “land” button in the Control Flight UI, but landing on one’s hand feels much cooler!)
UI-based controls are no better or worse than other apps I’ve used with similar on-screen controls (mostly games). My experience with console-based video games has me very comfortable with dual-analog stick controllers and navigating through 3D spaces, so going from that to simple on-screen touch controls is a big step backwards. The app controls seem generally responsive (they’re bluetooth, not wifi), though, so while they’re a little clunky as compared to a gaming controller, they feel pretty tight – not a lot of lag between pressing/releasing a direction. Finally, the right/left turn buttons seem reversed to me initially. I eventually found that control orientation is configurable and relative to the direction the Hover Camera is facing. So, a quick toggle from one orientation to the other made manual control much more intuitive.
One last note about controls – there is an “RC” option in the controls screen, which brings up info about pairing what I presume is an external controller – it looks like it supports the 8Bitdo Zero 2 bluetooth gamepad. I don’t have a gamepad to use with this functionality, but that sounds like a nice upgrade over on-screen controls. Supporting a gamepad with dual analog sticks would be on my wishlist, though!
Video
Out of the box, video quality is pretty great! I was surprised by this, to be honest – I expected passable video quality given the small size and weight of the Hover Camera, but was pleased at its quality. Its name – Hover Camera – is apt; this isn’t yet another drone with camera functionality tacked on as an afterthought, it really feels like a camera that happens to be able to fly!
Some of the built-in flight patterns (zoom out and birds eye) make the most of the camera’s field of view – “zoom out” in particular can look downright cinematic! Follow mode is equally impressive. Reviewing the footage of a simple test walk around my backyard gave the feel that a friend was following me with their camera (and a stabilizing rig!). At one point I leaned down to pick up my dog, and the Hover Camera X1 dipped down and slightly closer before raising up as I returned to a standing position, again looking like someone was manning a camera.
Video management is very familiar to that of a GoPro – the Hover Camera app lists what’s stored on the Hover Camera’s internal memory (and on my phone) and allows an instant low-quality preview. Transferring from the Hover Camera to my phone is simple by a built-in wifi connection. Bulk selection/transfer makes downloading footage easy, and once a clip is downloaded, it’s removed from the camera, making device file management an afterthought (a dedicated Delete function can be used to directly remove items from the internal memory as well). A variety of filters are available, but seem to only be accessible when viewing footage stored on the device’s internal memory. I did run into one issue with data transfer: Running my “how long will it hover?” test produced a video clip of over 10 minutes. Multiple attempts to download this resulted in a timeout. I ultimately had to delete the clip from the device.
Flight Test Footage
Here’s a couple clips of footage taken by the Hover Camera X1. The first shows the “Follow” flight mode. Walking my dog through a wooded area, the Hover Camera followed behind us, taking turns along the path with ease, and pausing in place when we did. I really like this flight mode; the default distance does a great job to center the subject while capturing the surrounding environment. I also did a bit of a technical test to see how the Hover Camera X1 fared under breezy conditions. This video, taken in manual control mode and with the camera in a stationary/hover position, shows branches of a large bush blowing to indicate how strong the breeze was – decently so. You can tell from the video that the camera was affected by the breeze, but did a pretty good job of correcting its location when the wind shifted it from its mark.
Concerns
I had a few concerns along the way while testing the Hover Cam X1. The initial battery charge caused a high-pitch electric whine towards the end of the charge cycle. Any noise from charging a battery triggers some amount of concern, but I haven’t heard this issue on subsequent (a dozen or so) charges. Hopefully it was a one-off.
One of my launches resulted in an immediate collision. The drone launched into a downward sloping path, and flew along it until it struck some bushes/the fence and ultimately landed on the ground (from a height of about a foot). On the upside, there was no lasting damage to the device (and it was fun to hear the onboard speaker announce “collision detected”), but I’m not sure what caused this. Did I have a finger on a control of my screen? Was the camera obscured/facing the wrong way? Was I holding it at a slope when it launched, and it didn’t initialize into a hover?
Finally, short battery life. The Hover Camera X1 advertises that about 20 flights can be taken on a single charge. With a fully charged battery in hover mode, I got about 11 minutes of uninterrupted flight (and video) out of it. Two batteries is almost a necessity if this thing is being taken on the go, and I’d recommend the charging hub and an external power bank to keep them charged between sessions – even two batteries will probably feel like they’re empty quickly. This is a trade-off for how lightweight and portable the Hover Cam X1 is, though, so it’s hard to be overly critical in this area.
In Conclusion
Overall, I’m super impressed with this little device! It was easy to get started, there’s a good amount of depth to the controls/settings, the video quality feels disproportionately good compared to the size/weight of the drone, its built-in flight paths can be used without a phone or supporting device, and its ultra-portability makes it a no brainer for throwing in a backpack or back pocket and taking it out to capture an adventure.
To learn more, check out the campaign for Hover Camera X1, now live on Indiegogo.


